So in my last post published 5 seconds ago, I said I'll be making a tutorial on how to make the squid hat. Here it is! I apologize ahead of time for the ridiculous amount of pictures and wordy explanations. And I still don't understand how to post two pictures side by side without resizing them to small. Can someone enlighten me? Now onto the tutorial! The pictures follow each step.
 |
| From the side |
 |
| The end result, front view |
 | |||||||||||||||||
| Back |
1. I started off using Clearkid's earflap tutorial. I printed out the pattern she has wonderfully provided, folded my fabric in half, and traced the pattern. I drew five tentacles on each earflap, and when the fabric opened, repeated the same process, for a total of ten tentacles spread evenly over two earflaps. The two long tentacles were on either side, with eight tiny tentacles in the middle. Since the inside of the squid was going to be a different color, I traced this design (earflap and tentacles and all) onto a different color (in this case, green), and cut out the two pieces. If you were going to use the same color, simply cut out two pieces of what you just drew, on the same fabric. Or you can be lazy and fold the fabric in half (equal sizes), trace your design, and cut it out once to produce two pieces. Whatever floats your boat. The second option is more foolproof, since it assures you will have two opposite pieces for sewing, when you sew the two pieces good sides together and flip it out. If you go by the first method, make sure when you sew the two pieces good pieces facing each other together, the pieces' shapes match up. Sorry if I don't make sense... I'm always bad with explaining things.
 |
| Fold fabric in two, draw pattern |

 | ||
| Details of the spacing |
2. After cutting out the pieces and pinning them together, right sides facing each other (so when you turn it out so that the seams won't show, the good sides will be outside!), I sewed the pieces together, being careful to follow my drawing.


3. I then proceeded to cut the tentacles separately (don't cut too close or you might cut your seams!), and flip them inside out by using a pencil to poke the right side through. I then flipped to the yellow side, took the edges and sewed them together. This is so when you flip it so that the green is facing out again, the seams won't show.


 |
| Pull |
 |
| Poke |
4. I then used Clearkid's hat tutorial to make a basic hat to put underneath the green outer layer, in order to keep the stuffing in (we're not at the stuffing point yet, though). But I didn't add the hat band, I only sewed the four pieces of triangles together, because the band (steps 1-3) will be added later on.


5. Now I laid the hat flat on top of the green fabric (or whichever color you choose to be the squid's outer color), and drew a squid like, triangular shape. Making sure the pieces would match when I pin their right sides together, I cut out an identical triangle. You should now have two green triangles resembling a squid's head.


6. Now I cut out the squid's earlike things. I'll just call them ears for reference's sake. Since the squid will have two ears, I cut out four pieces. Just draw whatever design you like, you don't need a pattern for this. You can freehand/wing all of this! I used the folding fabric in half, draw design, and cut method to assure me the pieces will match one they are opposite one another.

7. This step, I forgot to take pictures. But I basically sewed the outer green squid hat together. I pinned the two large triangle pieces, good sides facing each other, together. Then I pinned the two ears, good sides facing OUTWARDS. I took the ears (good sides facing outwards) and pinned them INSIDE the two triangles (good sides facing inwards), near the top of the triangles. If you think about it, when you have sewn everything together and flipped the whole thing inside out, all the good sides would be facing outwards. So then I sewed, and got this shape.

8. Next I pinned the ear flaps onto the hat. Clearkid explained how to do that here, but if you're still having trouble following her tutorial, I shall explain. I flipped the ear flap to the yellow side (the bottom layer of the hat), and pinned it to the green hat with its good side still facing out.

9. I stuffed the hat, then pinned the yellow hat to the inside of the green hat, the good side of the yellow hat touching the bad side (or inside) of the green hat. You can try it on to see if there's enough stuffing. I was satisfied, so I sewed through all the layers and flipped the ear flap down. Tada! Your hat now looks like this.
 |
| I was judging the size of the eye pattern pieces |


11. Then I handsewed the pupils onto the eyes, and the eyes onto the squid after being satisfied with their positions (which means trying on the hat and marking/remembering where the eyes are to go).
12. I then handsewed on some suckers for the two large tentacles, four on each tentacle.

13. For one of the tentacles, I switched one of the suckers for a little pink fish. I sewed a clip on button thing (I don't know what it's called. Anyone have an idea?) to the fish and an extra sucker, so the owner can switch the decorations up from time to time.
Here's the squid tentacle with the sucker, and with the fish.


14. Finally I handsewed some decorations on the squid's head. Circle barnacles are all the rage these days ;) And voila! Finished squid hat.

I made the hat using green antipill fleece and yellow blizzard fleece. The antipill fleece is more expensive, but fuzzier, and I wanted the squid to have two different textures. The black pupils/fish is made from felt, but the eyeball is made of blizzard fleece. The barnacles are also made of blizzard fleece, but that's because I didn't have yellow felt. I usually like to use felt for the details, because it's so much thinner and easier to handsew.
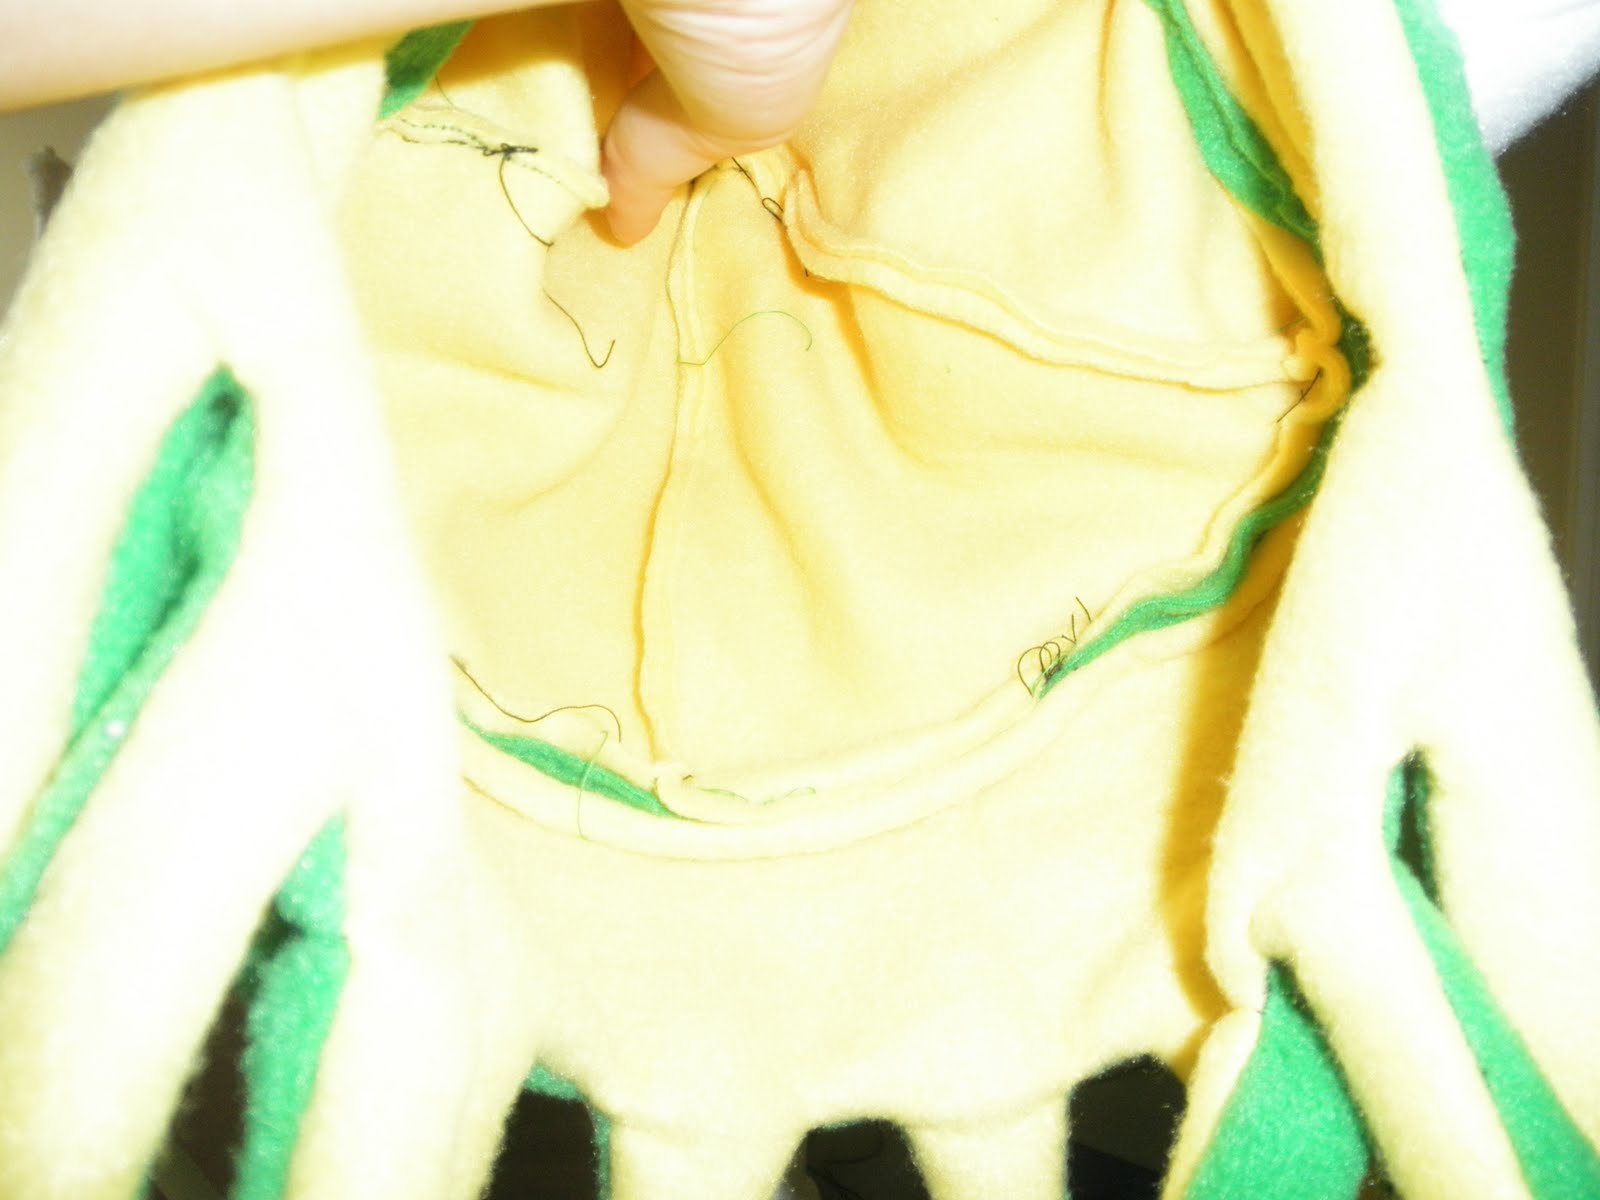
Some more pictures of the details, and the inside of the hat.


And that's that! Thanks for reading, happy sewing! Now go make your own squid hat! x)

I am going to make this hat. I have to. It might be a while, but eventually I will make this hat. And when I do, I will find a way to share the pictures if you want. Thanks for this great tutorial!
ReplyDeleteWOW I'm so flattered! Thanks for visiting and sorry my blog kind of died... hahaha but yes, I would love to see your results when you're done! :)
DeleteI love this :D I want to try it.
ReplyDeleteHow long did this take you? And how did you sew the eyes on? Like a normally?
Oh, nice! I'd love to make one of these for halloween - do you think it'd work with thinner fabrics? I've got loads that need using up.
ReplyDeleteAwesome! Totally making it,but a bit smaller! Just one question, how much fabric do I need to buy?
ReplyDelete